There are two methods for getting the client's EOB into SmartCare and attached to the client's account. You can:
Use this task to scan or upload an EOB from the client's insurance plan to the account.
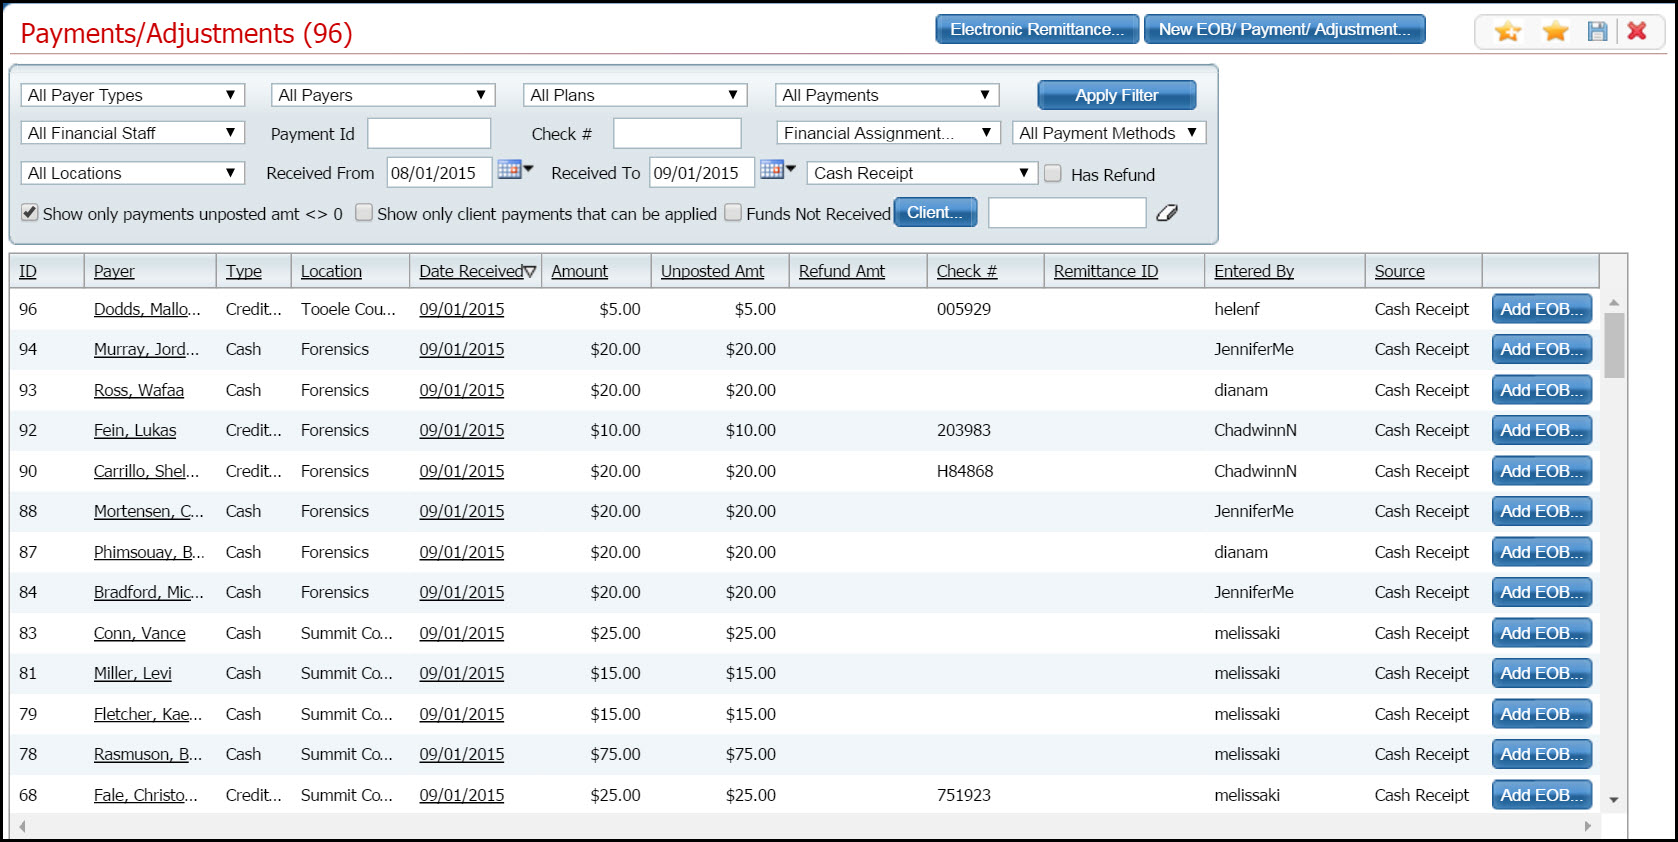
Display the Payments/Adjustments (####) list page. Tell me how...
The Payments/Adjustments (####) list page is displayed. View field definitions.
Filter the list to determine the records that are displayed. Tell me how...
Find the client account you want, and click the Add EOB button.
The Scan/Upload window is displayed. View field definitions.

Click the Scan button.
The Reading from device status window is displayed.
When the scan is complete, the file is displayed in the Record Detail page. View field definitions.

Select the Effective date, Record Type and enter a description of the scanned document.
Click the Save button.
Click the Exit icon in the tool bar to close the Scanned Medical Record Detail page.
Use this task when you have the EOB as a computer file saved to your computer.
Display the Payments/Adjustments list page. Tell me how...
The Payments/Adjustments list page is displayed. View field definitions.
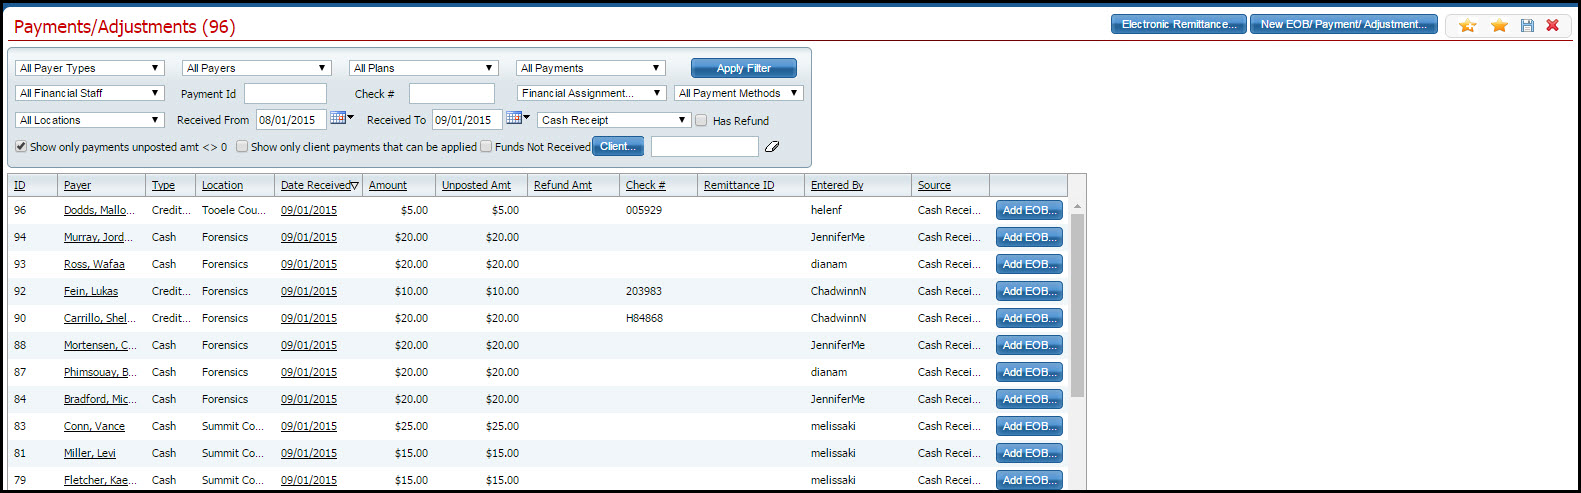
Filter the list to determine the records that are displayed. Tell me how...
Click on the Add EOB button on the client's service line where you want to add the EOB document.
The Scan or Upload window is displayed. View field definitions.
Click the Upload button.
The Upload File Detail page is displayed with the Please select a file pop up window.

Click the Select button in the pop up window to find the file to upload.
The Windows Explorer window is displayed.

Find the file and click on it to select it.
Click the Open button.
The file name is displayed in the Please select a file window. A red dot icon before the file name indicates the file is not in an acceptable format.

To remove the file without uploading it, click the Remove
icon. ![]()
Repeat steps 5 through 7 of this task to find and select a different file.
-or-
When the file you want is selected and you are ready to upload the file, click the Upload button.
The file is displayed in the bottom portion of the Upload File Detail page.
Complete the fields at the top of the Upload File Detail page. View field definitions.

When the upload and fields are complete, click the Save button in the tool bar.
Click the Exit icon to return to the Payments/Adjustments list page.
The Payments/Adjustments list page is displayed.
Why can't I access these screens?